There are about 7,000 human languages in the world, but most of them face a risk of extinction. [1, 2] Are we evolving toward a unilingual world, where, for example, only English, only Mandarin, or only Hindi survives? Or are we near a peak in linguistic globalization, approaching an era of growing diversity? [3]
Many individuals, movements, and organizations are trying to answer that question by influencing the world’s linguistic future. Among them are inventors and engineers designing systems for communication across language boundaries. If they succeed, linguistic diversity may persist and promote diverse ideas, values, and local knowledge, while permitting rich global interaction.
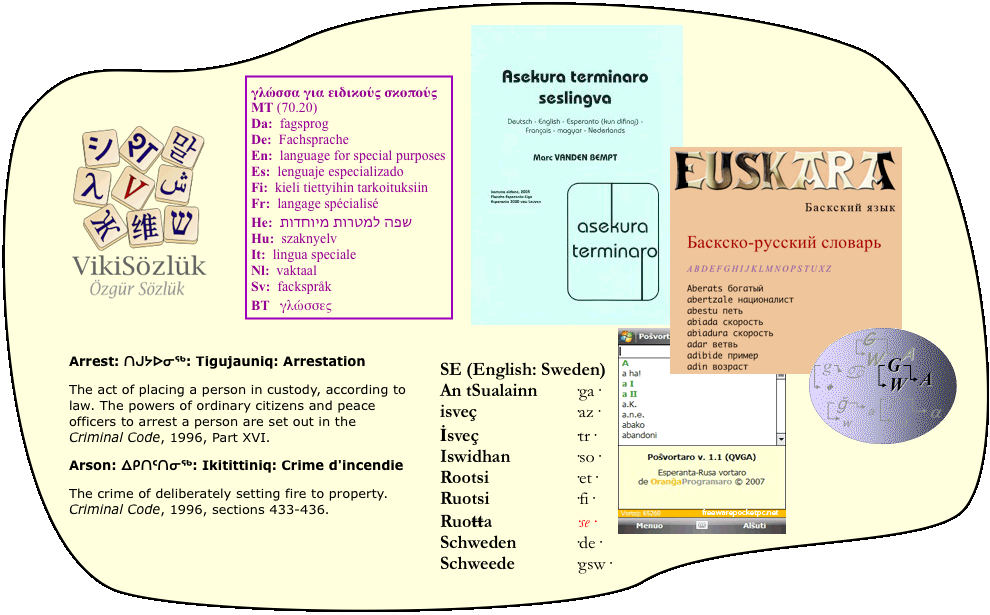
One of these systems is PanLex, being developed by The Long Now Foundation. PanLex aims to help you express any lexical concept (such as “democracy”, “elongate”, “à la carte”, or “Africa”) in any language. To achieve this ambitious goal, we are consulting thousands of dictionaries and other knowledge sources to build an open-source database. It already documents a billion lexical translations, from which billions more can be derived.
Initial research indicates that the technology of PanLex improves translation, provides better web search results, and permits the exchange of information across languages.
PanLex is still under development, but you can try it now.
Reports:
Presentations:
References:
[1] Jonathan Loh and David Harmon, Biocultural Diversity: Threatened species, endangered languages, WWF Netherlands, 02014.
[2] Karin Wiecha, New Estimates on the Rate of Global Language Loss, The Rosetta Project, 02013.
[3] Nicholas Ostler, The Last Lingua Franca: English Until the Return of Babel, Walker, 02010.
![]()